Deploy to OpenShift
With our app fully ready for its first cloud native deployment, let’s package it up for deployment to our Kubernetes platform as a native image. We’ll use some OpenShift tooling to accomplish this, as outlined in the Quarkus - Deploying on Kubernetes Guide.
Login to OpenShift
Although your VS Code is running on the Kubernetes cluster, it’s running with a default restricted Service Account that prevents you from creating most resource types. So we’ll log in with your workshop user.
-
First, generate a new openshift login token using your IBMid
-
Click on
Display Tokento reveal your login token and an exampleoc logincommand. -
Copy the example
oc logincommand, and paste it into your IDE terminal.
You should see:
Login successful.

You have access to 89 projects, the list has been suppressed. You can list all projects with 'oc projects'

Using project "devspaces-%USERID%-xxxxxx".
Welcome! See 'oc help' to get started.
Congratulations, you are now authenticated to the OpenShift server via the CLI. We’ll use the prettier web console later on in this lab.
|
The login session might timeout after long periods of inactivity. If this happens, you’ll get messages like |
Namespaces are a top level concept to help you organize your deployments and teams of developers. A namespace allows a community of users (or a user) to organize and manage their content in isolation from other communities. OpenShift projects provide additional functionality for managing Kubernetes namespaces.
For this scenario, a project has been created for you called %USERID%-project. You will use this project to deploy your developed project in the next step.
Build and Deploy native image
Quarkus offers the ability to automatically generate OpenShift resources based on sane default and user supplied configuration. The OpenShift extension is actually a wrapper extension that brings together the kubernetes and container-image-s2i extensions with defaults so that it’s easier for the user to get started with Quarkus on OpenShift.
Add openshift extension via VS Code Terminal:
mvn quarkus:add-extension -Dextensions="openshift"you will see:
[INFO] [SUCCESS] ✅ Extension io.quarkus:quarkus-openshift has been installedNext, add the following variables in src/main/resources/application.properties for deploying the application to OpenShift. native compilation using Mandrel builder image:
%prod.quarkus.kubernetes-client.trust-certs=true(1)
%prod.quarkus.kubernetes.deploy=true(2)
%prod.quarkus.kubernetes.deployment-target=openshift(3)
%prod.quarkus.openshift.build-strategy=docker(4)
%prod.quarkus.openshift.route.expose=true(5)
%prod.quarkus.openshift.route.target-port=http(6)
%prod.quarkus.openshift.route.tls.termination=edge(7)
%prod.quarkus.openshift.route.tls.insecure-edge-termination-policy=Allow(8)
quarkus.openshift.deployment-kind=Deployment(9)
quarkus.container-image.group=%USERID%-project(10)
quarkus.container-image.registry=image-registry.openshift-image-registry.svc:5000(11)| 1 | We are using self-signed certs in this simple example, so this simply says to the extension to trust them. |
| 2 | Instructs the extension to deploy to OpenShift after the container image is built |
| 3 | Instructs the extension to generate and create the OpenShift resources (like Deployment and Service) after building the container |
| 4 | Set the Docker build strategy |
| 5 | Instructs the extension to generate an OpenShift Route |
| 6 | Specify the target port |
| 7 | Specify the termination type |
| 8 | Specify the desired behavior for insecure connections to a route |
| 9 | Generate the Deployment resource |
| 10 | Specify a project where the application is deployed |
| 11 | Specify an internal container registry to push an application image |
Docker build strategy builds the artifacts (JAR files or a native executable) outside the OpenShift cluster, either locally or in a CI environment, and then provides them to the OpenShift build system together with a Dockerfile. The container is built inside the OpenShift cluster and provided as an image stream.
Rebuild and re-deploy the people application via running the following maven plugin in the VS Code Terminal:
oc project %USERID%-project &&
mvn clean package -Pnative -DskipTests -Dquarkus.package.uber-jar=false
As you recall, the output of this process is a native Linux binary but also running Source-To-Image(S2I) build processor.
Wait for it to finish!. You should get a BUILD SUCCESS message at the end. Once that’s done, make sure it’s actually done rolling out:
oc rollout status -w deployment/peopleWait for that command to report deployment "people" successfully rolled out before continuing.
And now we can access it using curl once again. In the Terminal, run this command to access the endpoint:
curl $(oc get route people -o=go-template --template='{{ .spec.host }}')/hello/greeting/quarkus-on-openshift|
The above |
You should see:
hello quarkus-on-openshift|
Your hostname (the Kubernetes pod in which your app runs) name will be different from the above. |
Now that your app is deployed to OpenShift you can also see it in the OpenShift Console. Login to the openshift console using your IBMid.
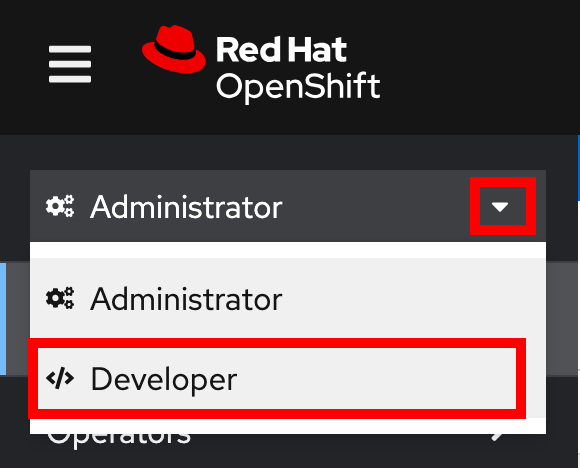
Once logged in, switch from the Administrator perspective to the Developer perspective using the dropdown menu at the top of the sidebar:
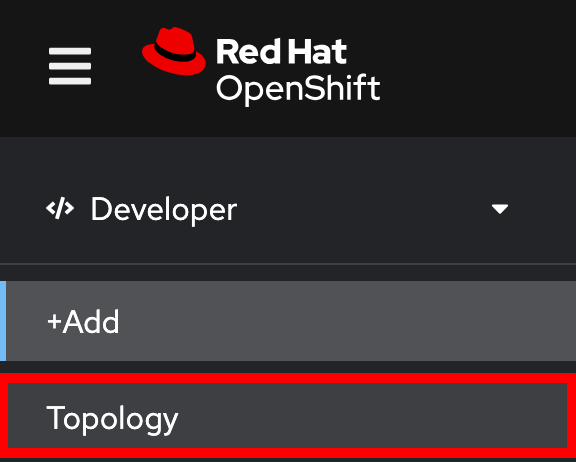
Then switch to the Topology View:
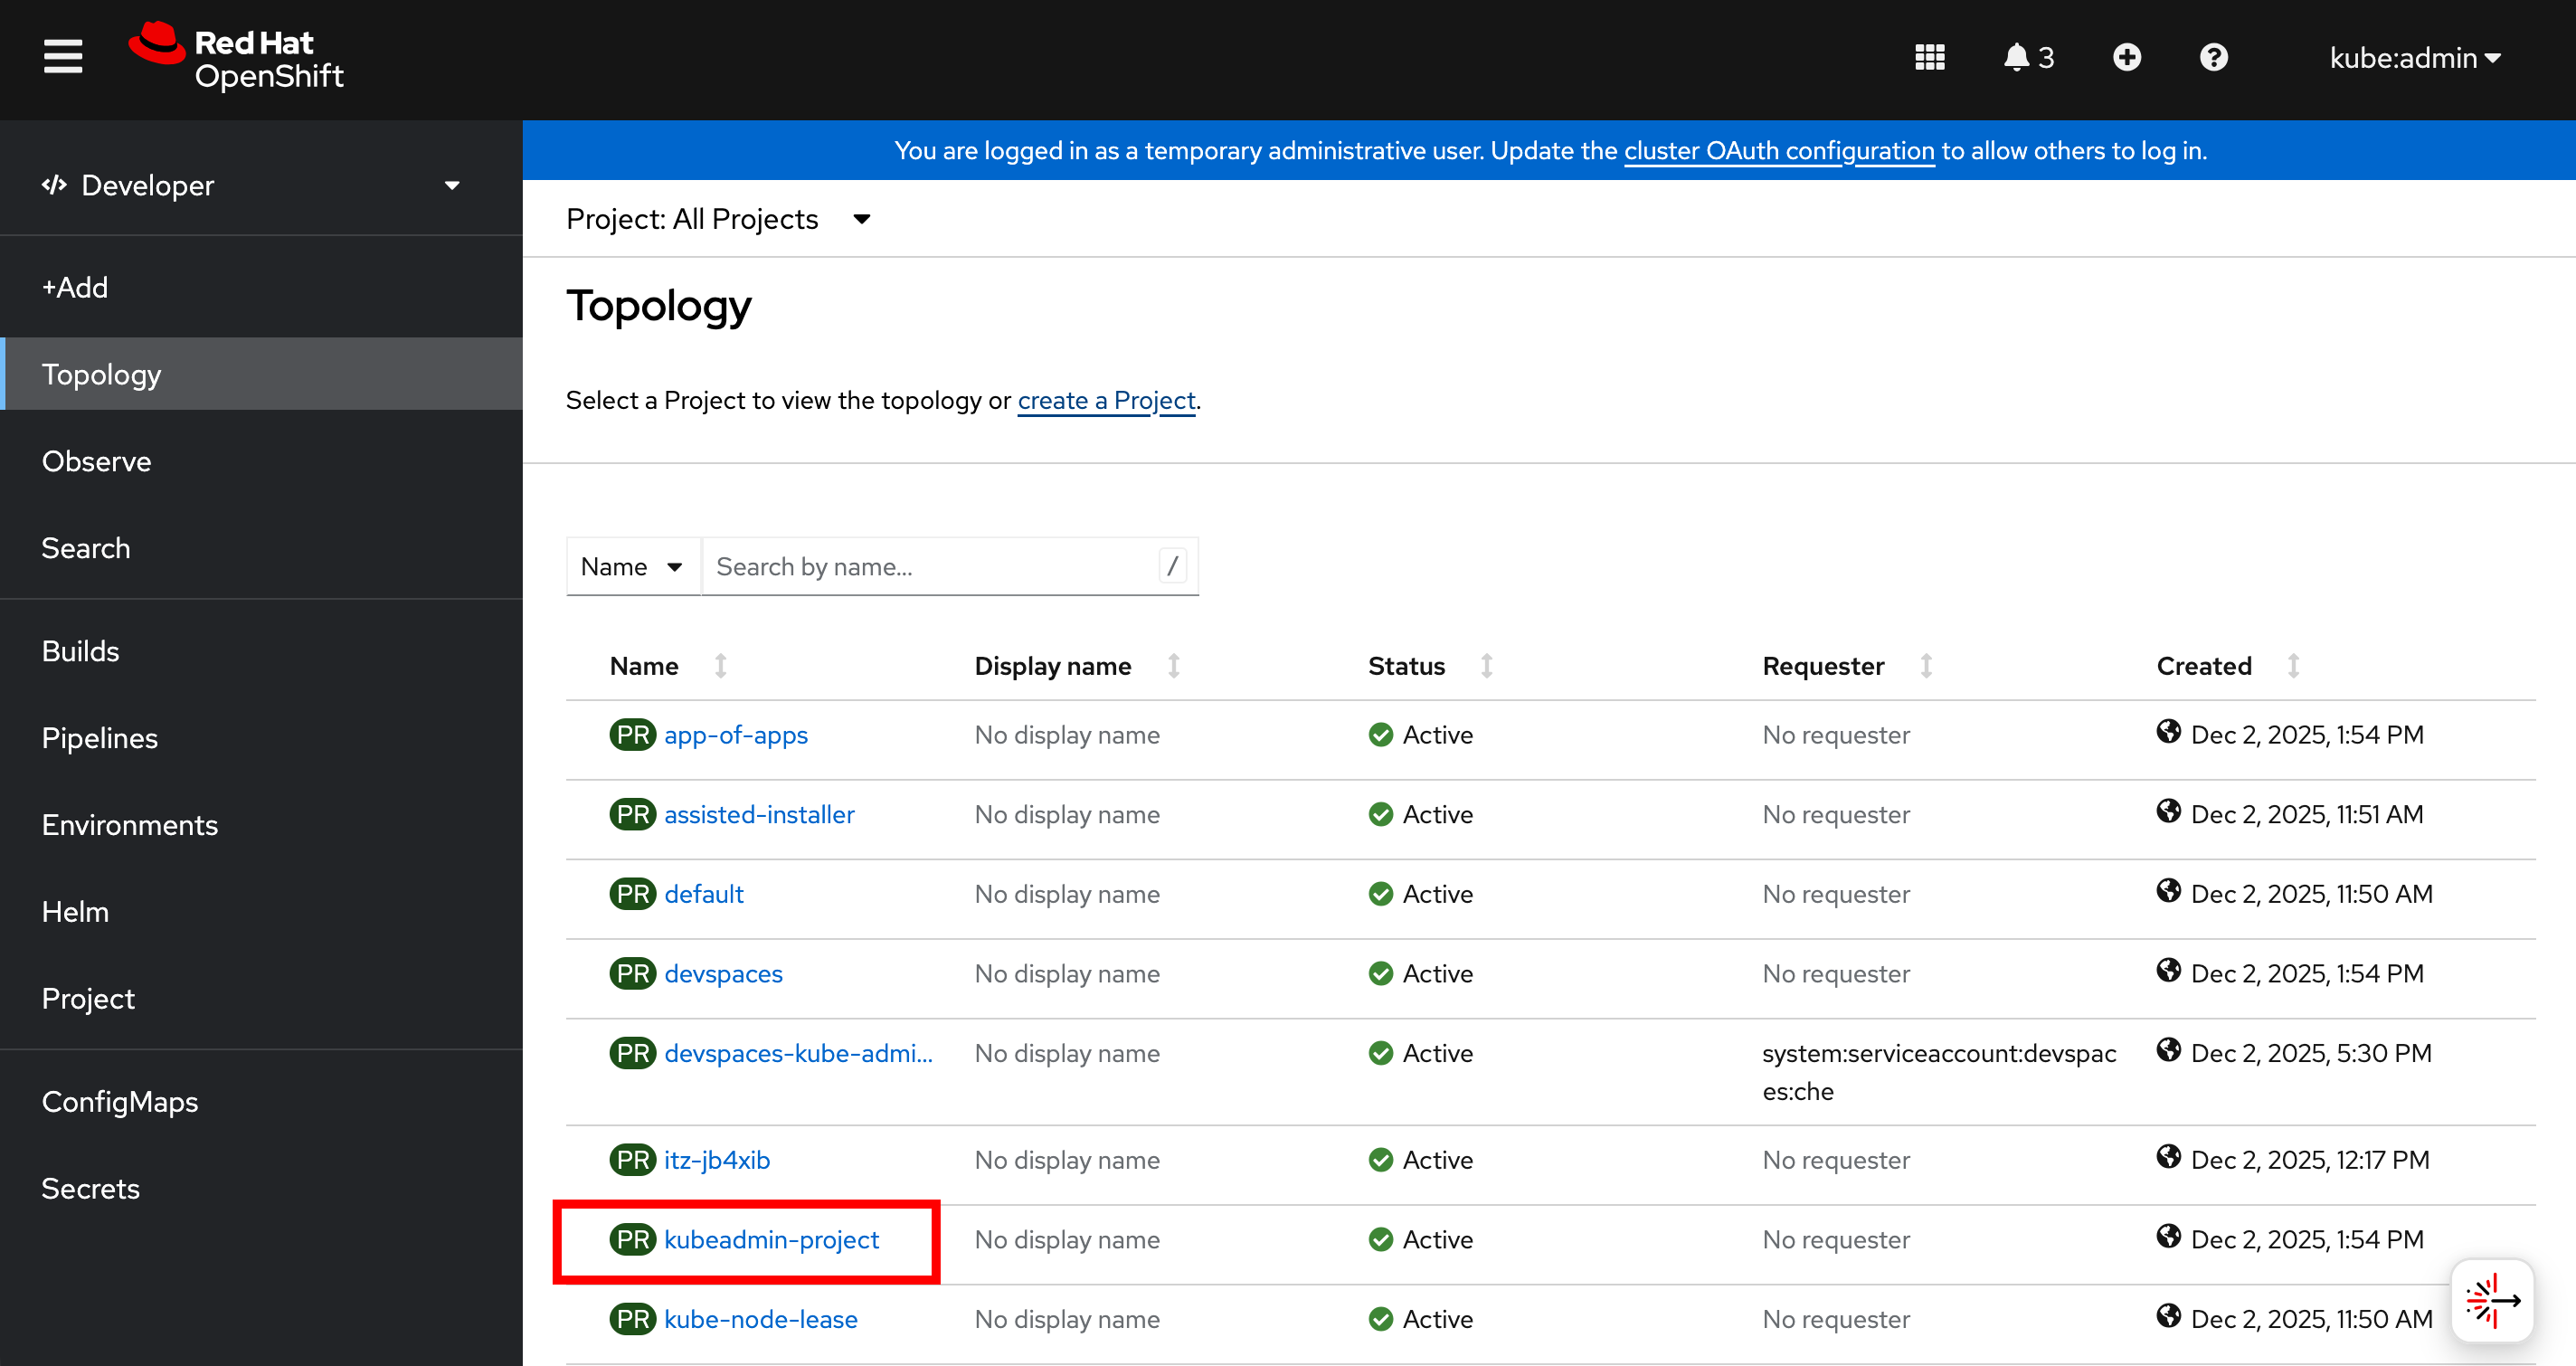
Select your project (%USERID%-project):
You can see the single people deployment that we deployed earlier using the CLI:
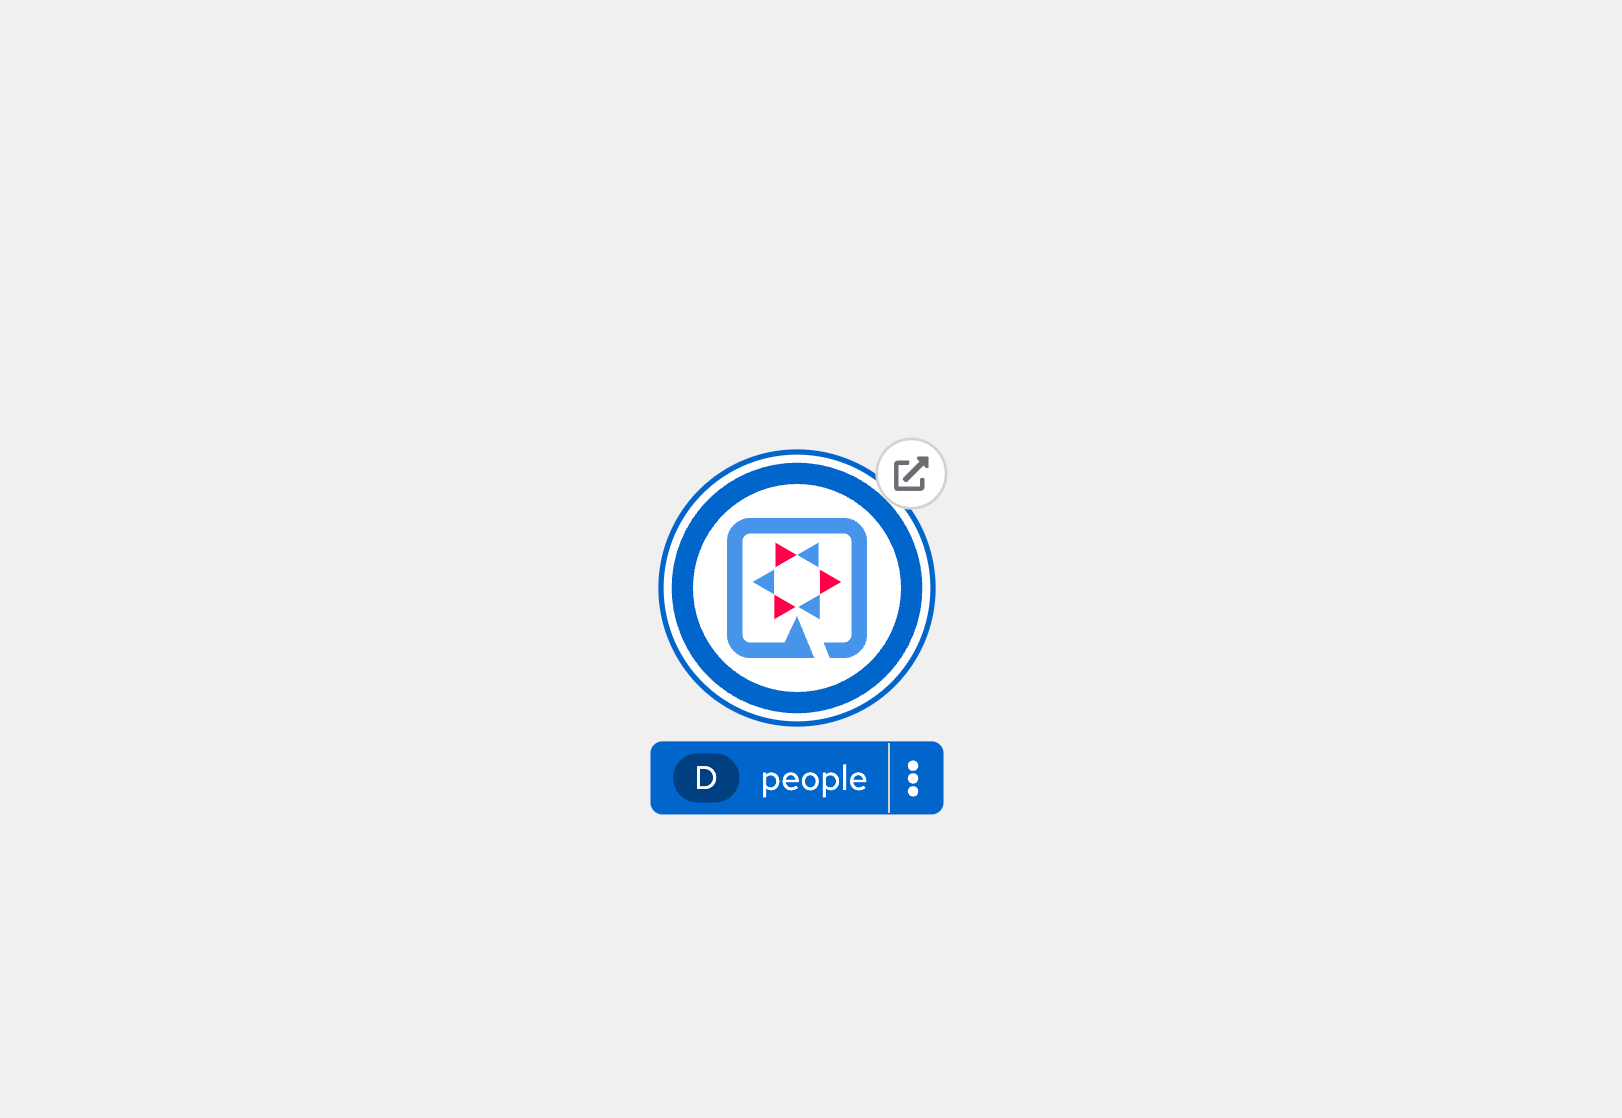
Select the circle to get details:
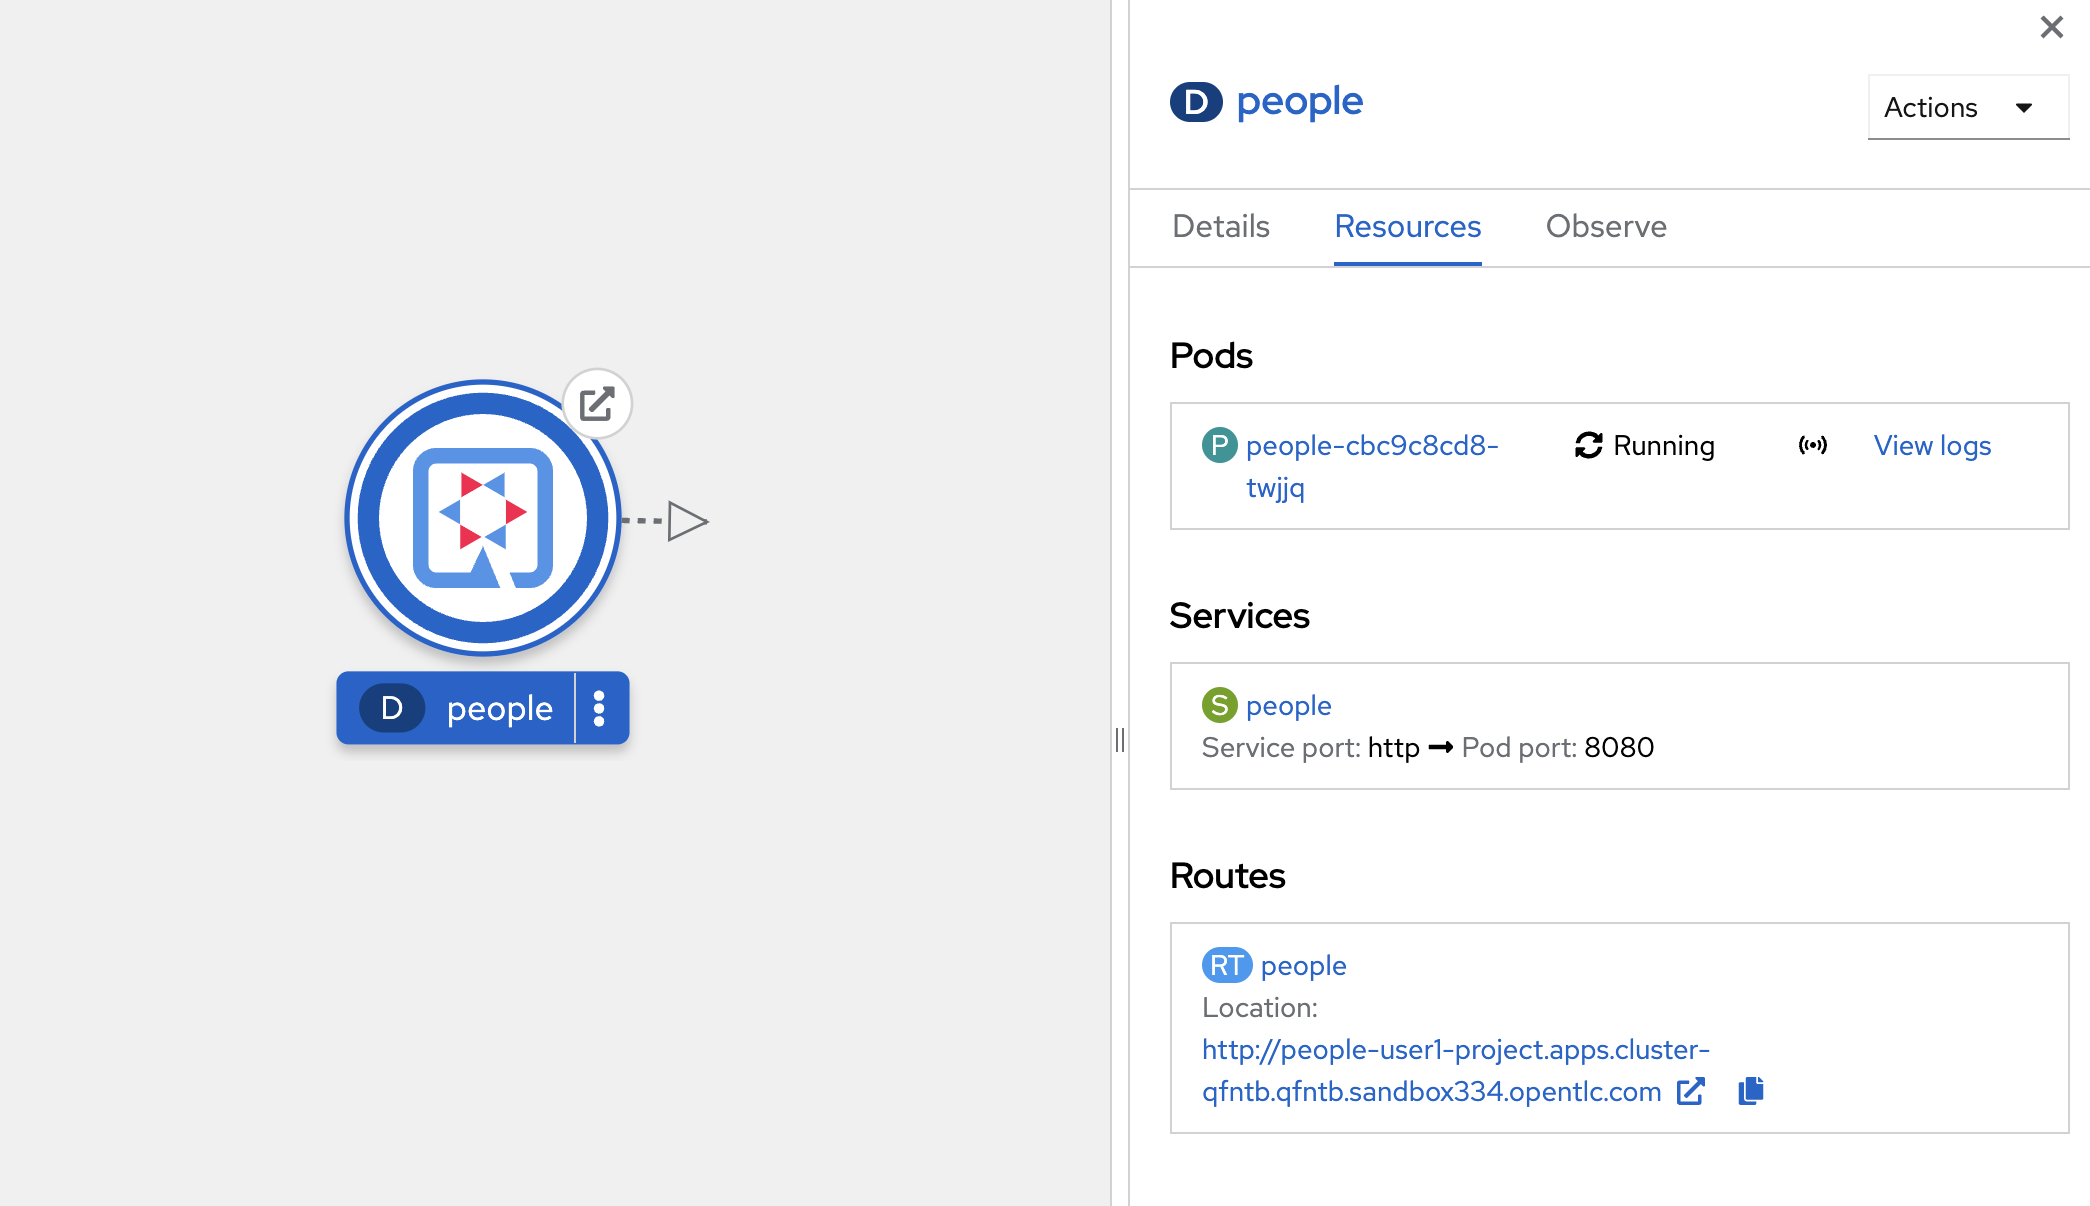
Select the View Logs link to see the console output from the app:

This is the same output you saw earlier when you ran it "locally" with its super-fast startup time.
Go back to the Topology view. Since this app is exposed to the world, a Route was created which you can access it using the small arrow in the upper right of the circle. Select the route link:
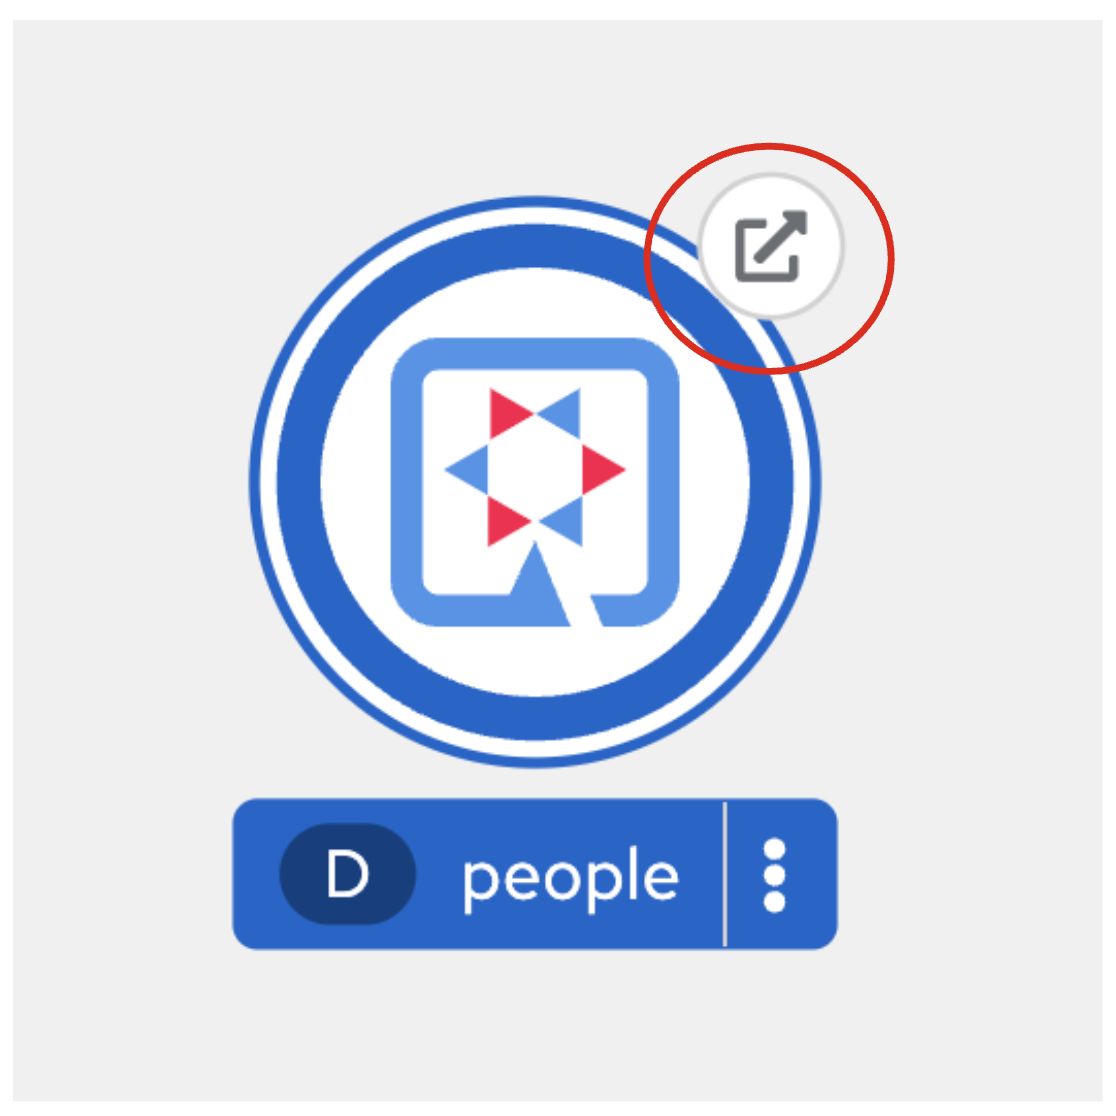
You can click on the route link to open up the default Quarkus page that’s packaged as part of our workshop application.
Connect MicroProfile health check
Earlier you implemented a series of MicroProfile health checks. To make OpenShift aware of these available health checks and begin using them, run the following commands in a Terminal:
oc set probe deployment/people --readiness --initial-delay-seconds=5 --period-seconds=5 --failure-threshold=20 --get-url=http://:8080/q//health/ready && oc set probe deployment/people --liveness --initial-delay-seconds=5 --period-seconds=5 --failure-threshold=20 --get-url=http://:8080/q/health/liveYou’ll see in the Topology view that the app is re-deployed with the new settings and the old app will be terminated soon after:
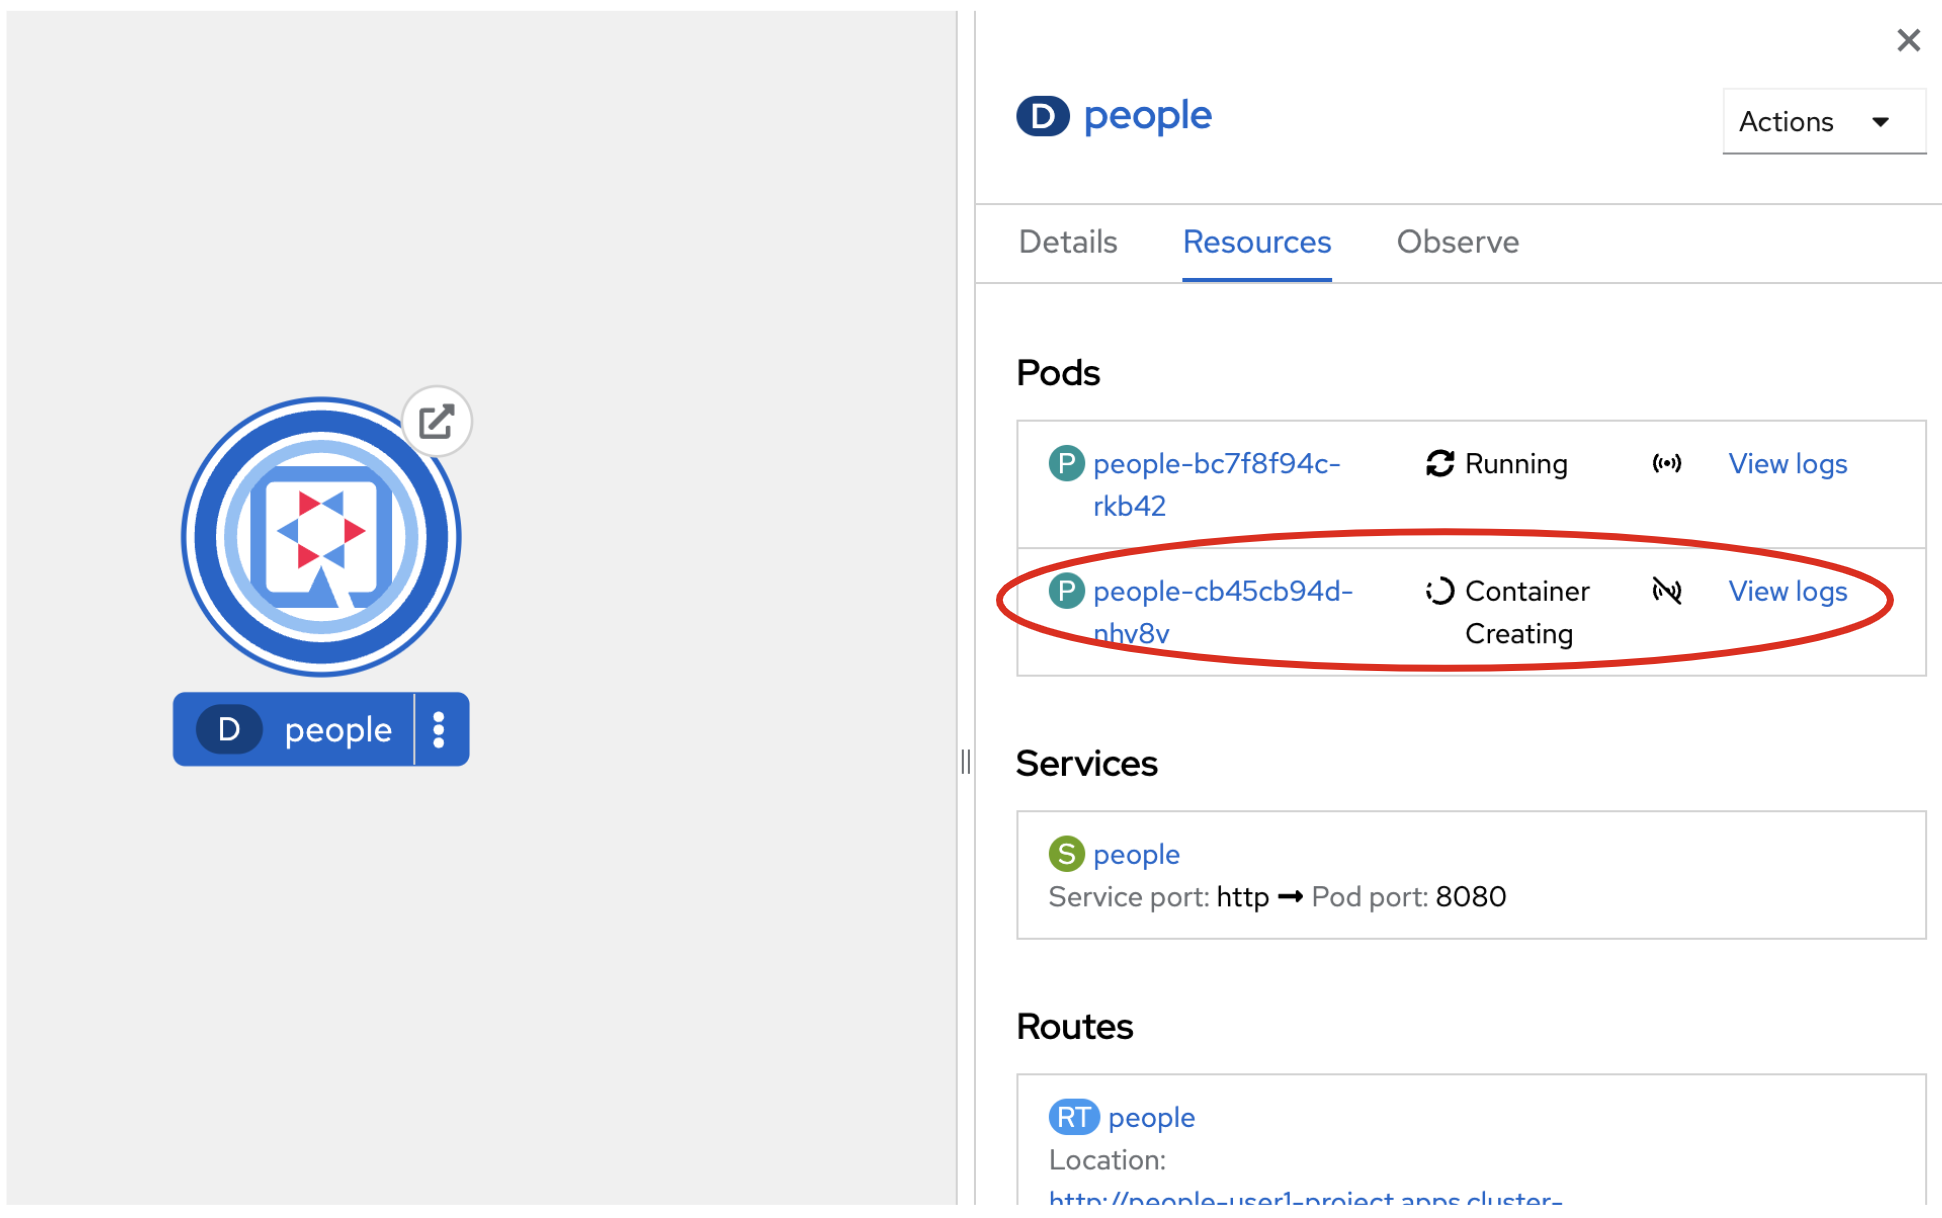
This configures both a readiness probe (is the app initialized and ready to serve requests?) and a liveness probe (is the app still up and ready to serve requests) with default timeouts. OpenShift will not route any traffic to pods that don’t respond successfully to these probes. By editing these, it will trigger a new deployment.
At this point, the probes will be accessed periodically to ensure the app is healthy.
Congratulations!
This step covered the deployment of a native Quarkus application on OpenShift. However, there is much more, and the integration with these cloud native platforms (through health checks, configuration management, and monitoring) has been tailored to make Quarkus applications execution very smooth.
This is the end of the Quarkus Fundamentals Hands-On Lab. Check back soon for the Advanced Quarkus Hands-On Lab, available in Q1 2026.